Welcome to Part 3 of the jQuery Crash Course! 🎉
In Part 1, we set up a modern jQuery project with Vite, learned about selectors, DOM manipulation, and event handling.
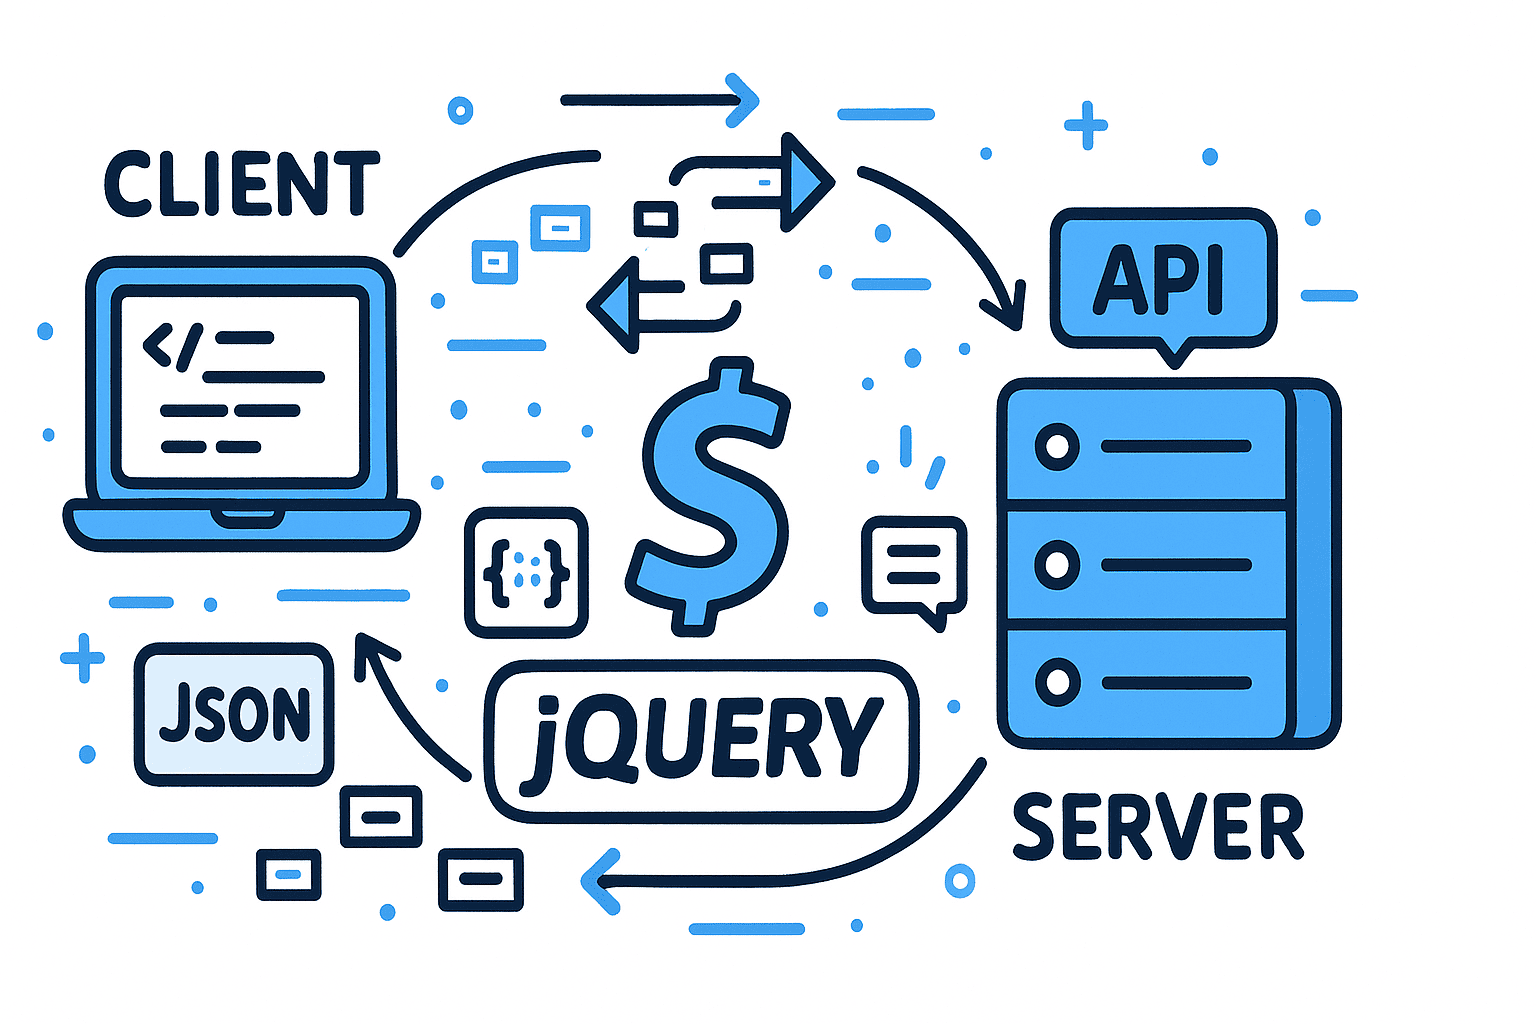
In Part 2, we explored AJAX with jQuery, including GET, POST, and JSON handling.
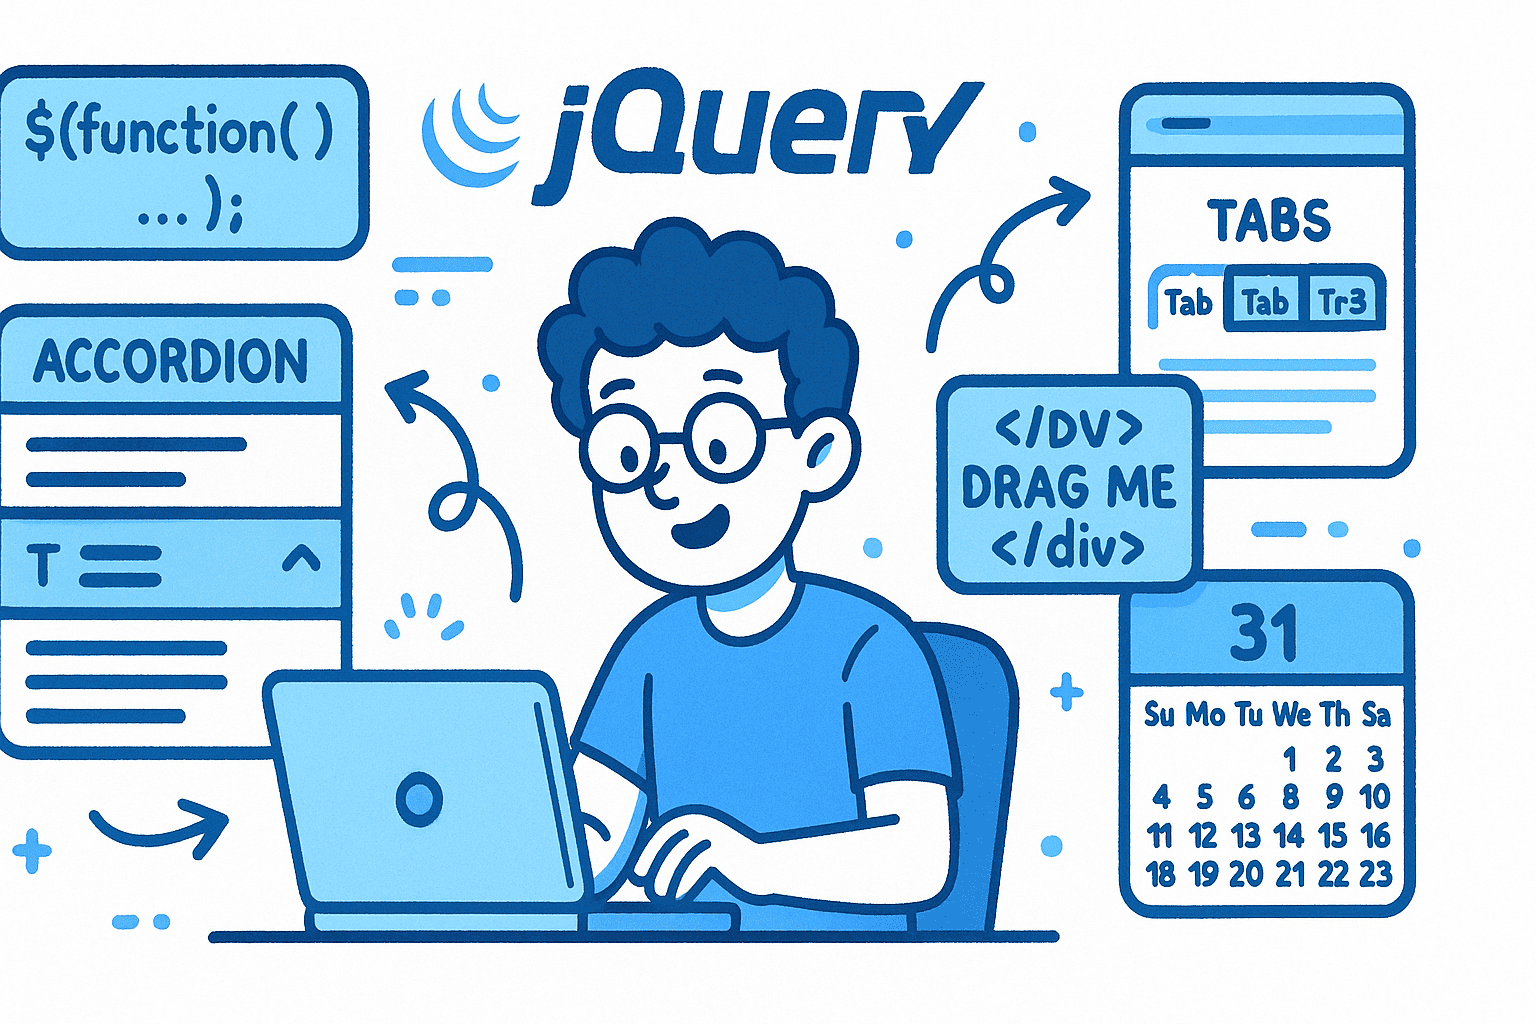
Now in Part 3, we’ll focus on jQuery UI, a collection of ready-to-use interactive widgets and effects. You’ll learn how to install it in a Vite project, initialize components, and customize them with CSS.
Step 1: Install Packages
First, create a new Vite project and install dependencies:
# Create a new Vite project
npm create vite@latest jquery-ui-crash-course

# Go into the project
cd jquery-ui-crash-course

# Install dependencies
npm install

# Install jQuery and jQuery UI
npm install jquery jquery-ui-dist
Step 2: Project Setup
Your project should look like this:
jquery-ui-crash-course/
├── index.html
├── src/
│   ├── main.js
│   └── style.css
├── package.json
Edit src/main.js:
import $ from "jquery";
import "jquery-ui-dist/jquery-ui";
import "jquery-ui-dist/jquery-ui.css";
import "./style.css";

$(function () {
  console.log("jQuery UI with Vite is ready!");
});
Step 3: Using jQuery UI Components
Now let’s walk through some of the most useful widgets.
Accordion
HTML:
<div id="accordion">
  <h3>Section 1</h3>
  <div><p>Content for section 1</p></div>
  <h3>Section 2</h3>
  <div><p>Content for section 2</p></div>
</div>
JS:
$("#accordion").accordion({
  heightStyle: "content",
  collapsible: true,
  active: 0,
});
👉 This creates a collapsible accordion interface.
Tabs
HTML:
<div id="tabs">
  <ul>
    <li><a href="#tab-1">Tab 1</a></li>
    <li><a href="#tab-2">Tab 2</a></li>
  </ul>
  <div id="tab-1"><p>First tab content</p></div>
  <div id="tab-2"><p>Second tab content</p></div>
</div>
JS:
$("#tabs").tabs();
👉 Adds tabbed navigation.
Dialog
HTML:
<button id="openDialog">Open Dialog</button>
<div id="dialog" title="Example Dialog">
  <p>This is a modal dialog.</p>
</div>
JS:
$("#dialog").dialog({ autoOpen: false, modal: true, width: 380 });
$("#openDialog").on("click", () => $("#dialog").dialog("open"));
👉 A modal dialog that opens when you click the button.
Datepicker
HTML:
<input id="dateInput" placeholder="Pick a date" />
JS:
$("#dateInput").datepicker({
  dateFormat: "yy-mm-dd",
  showAnim: "fadeIn",
});
👉 Adds a calendar date picker.
Autocomplete
HTML:
<input id="city" placeholder="Type a city..." />
JS:
const cities = [
  "Kuwait City",
  "Dubai",
  "Riyadh",
  "Doha",
  "Manama",
  "Jeddah",
  "Abu Dhabi",
];

$("#city")
  .autocomplete({ source: cities, minLength: 0 })
  .on("focus", function () {
    $(this).autocomplete("search", $(this).val());
  });
👉 Suggests cities as you type.
Draggable
HTML:
<div id="dragMe" class="box">Drag me</div>
JS:
$("#dragMe").draggable({ containment: "window" });
👉 Makes the element draggable.
Sortable
HTML:
<ul id="sortable">
  <li class="ui-state-default" data-id="A">Item A</li>
  <li class="ui-state-default" data-id="B">Item B</li>
  <li class="ui-state-default" data-id="C">Item C</li>
</ul>
JS:
$("#sortable").sortable({
  placeholder: "ui-state-highlight",
  update: function () {
    const order = $(this).sortable("toArray", { attribute: "data-id" });
    console.log("New order:", order);
  },
});
👉 Allows reordering list items by drag-and-drop.
Step 4: Run the Project
Start the dev server:
npm run dev
Then open the provided local URL in your browser to test.
Step 5: Theming and CSS Tweaks
You can override jQuery UI’s default theme in style.css:
.ui-dialog {
  z-index: 2000 !important;
}
.ui-state-active {
  background: #0ea5e9;
  border-color: #0284c7;
  color: #fff;
}
For a full theme overhaul, use jQuery UI ThemeRoller.
Debugging & Common Pitfalls
- $ is not a function: Ensure jQuery is imported before jQuery UI.
- No styles: Import "jquery-ui-dist/jquery-ui.css".
- Widgets don’t work: Make sure the HTML IDs match the selectors in your JS.
- Sortable logs undefined: Add data-id or id attributes to
<li>elements.
Conclusion
In this part, you learned how to install and use jQuery UI with Vite, and tried out widgets like Accordion, Tabs, Dialog, Datepicker, Autocomplete, Draggable, and Sortable.
👉 If you missed earlier parts, check out:
- Part 1: Setup, Selectors, DOM Basics
- Part 2: AJAX with jQuery
Up next, in Part 4, we’ll explore jQuery plugins and advanced UI patterns.
🤝 Need a Custom RSVP System or Dashboard?
I help businesses build tools that actually work , even on tight deadlines.
Whether you're planning an event, need internal tools, or want a custom dashboard for your team , I can help.
Reach out
📧 Email: safi.abdulkader@gmail.com | 💻 LinkedIn: @abdulkader-safi | 📱 Instagram: @abdulkader.safi | 🏢 DSRPT
Drop me a line, I’m always happy to collaborate! 🚀


