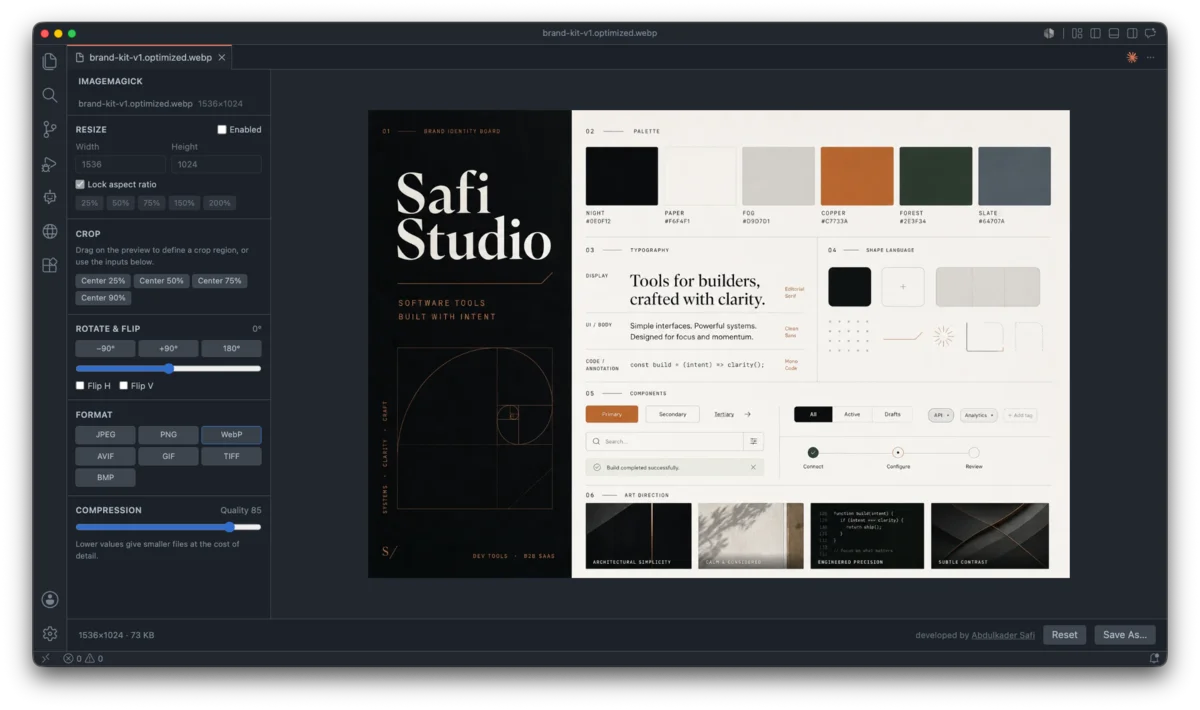
- ImageMagick for VS Code: Native image editing inside the editor · part 2 of 4
- Typescript
- VS Code
- Extension
- Tools
- Svelte
ImageMagick for VS Code 0.4.0: optimization presets
0.4.0 of my ImageMagick VS Code extension adds saved optimization presets and a one-click optimize from the Explorer, encoded in the extension host with no panel and no uploads.

3 min read



My ImageMagick extension lets you resize, crop, rotate, compress, and convert images inside VS Code, with a live preview and no uploads. The engine is ImageMagick compiled to WebAssembly.
Until now, every image went through the same route: open the panel, set the format, drag the quality slider, set a size, hit Save As. Fine once. Tedious for the fortieth icon in a folder, when the answer is always "WebP, quality 80, strip the metadata."
0.4.0 fixes that.
Presets
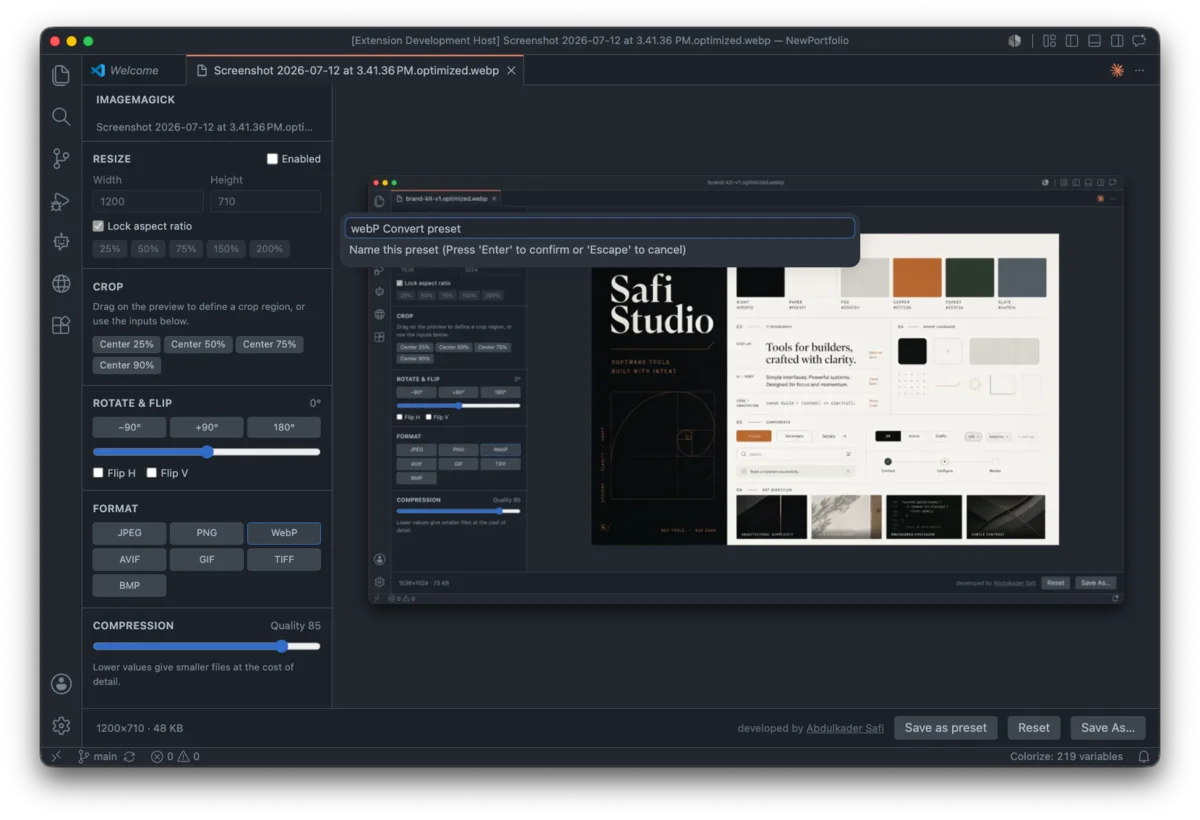
A preset is a saved pipeline: a format, a quality, a maximum long edge, whether to strip metadata, and whether the result is written alongside the source or over it. Three ship by default (Web WebP, Compress JPEG, PNG to WebP). You can add your own in the imagemagick.presets setting, or build one visually: open an image, set it up the way you like, and hit the new Save as preset button in the panel.
One-click optimize
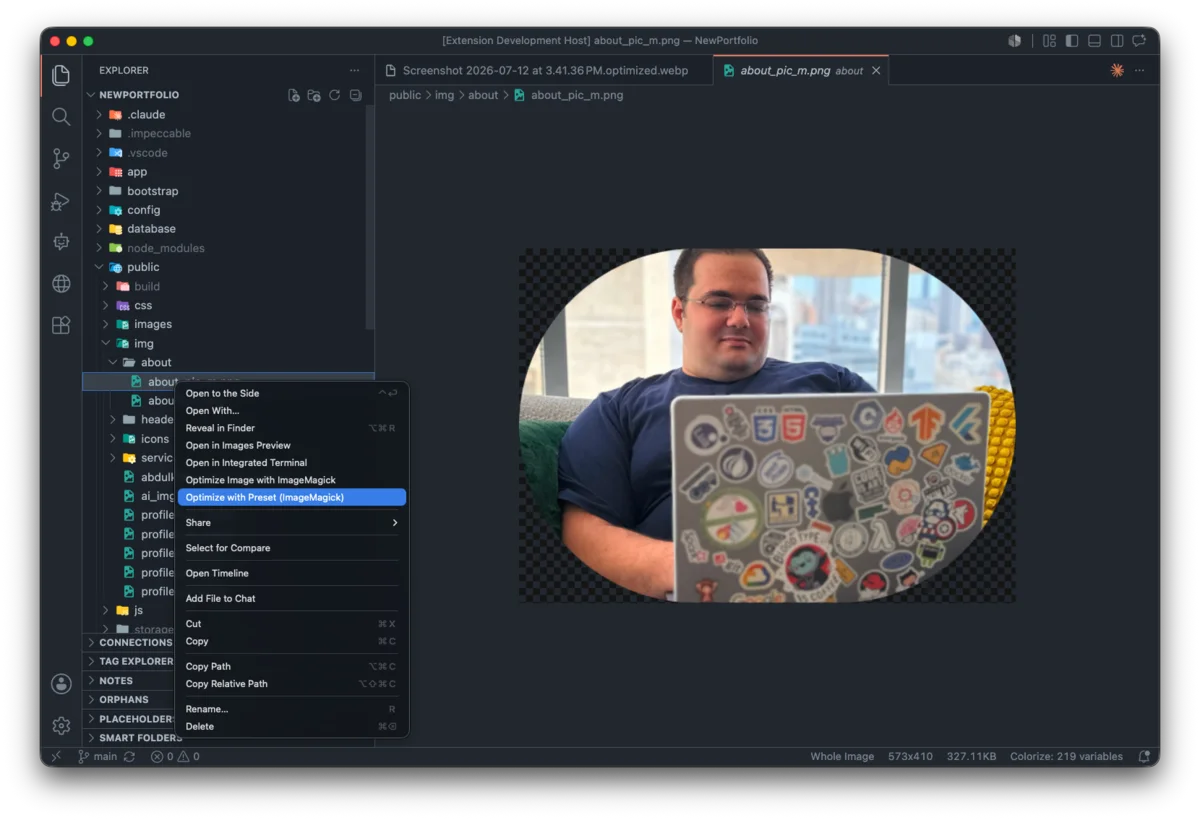
Right-click any image in the Explorer, or select a dozen and right-click, and choose Optimize with Preset. A list of your presets appears. Pick one, and the optimized files are written straight to disk.
| the Optimize with Preset entry in the Explorer right-click menu | the Optimize with Preset entry in the Explorer right-click menu select the preset |
|---|---|
 |
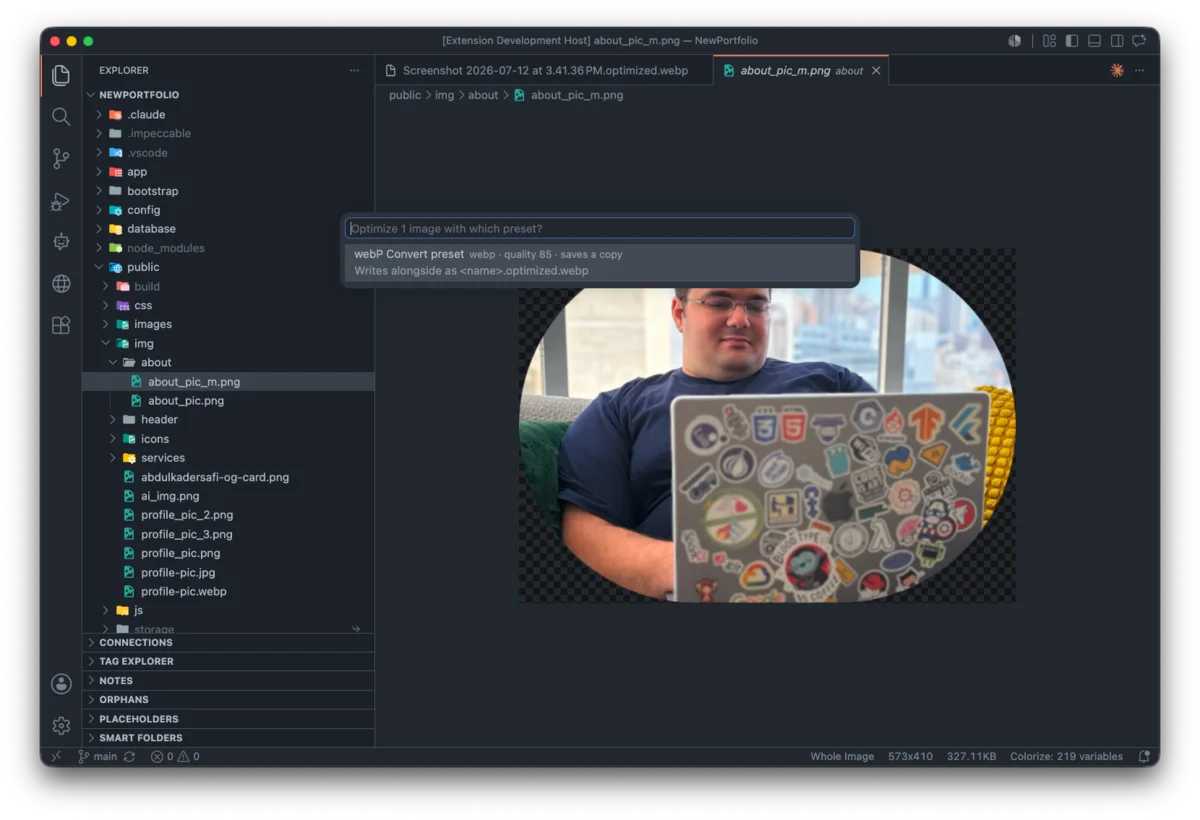 |
Every row in that list spells out exactly what it will do, because the one setting that can lose your original file is the one you most need to see:
Web WebP        webp · max 1600px · quality 80 · strip metadata · saves a copy
Compress JPEG   jpg · quality 75 · strip metadata · saves a copy
My Icons        webp · quality 70 · OVERWRITES SOURCE
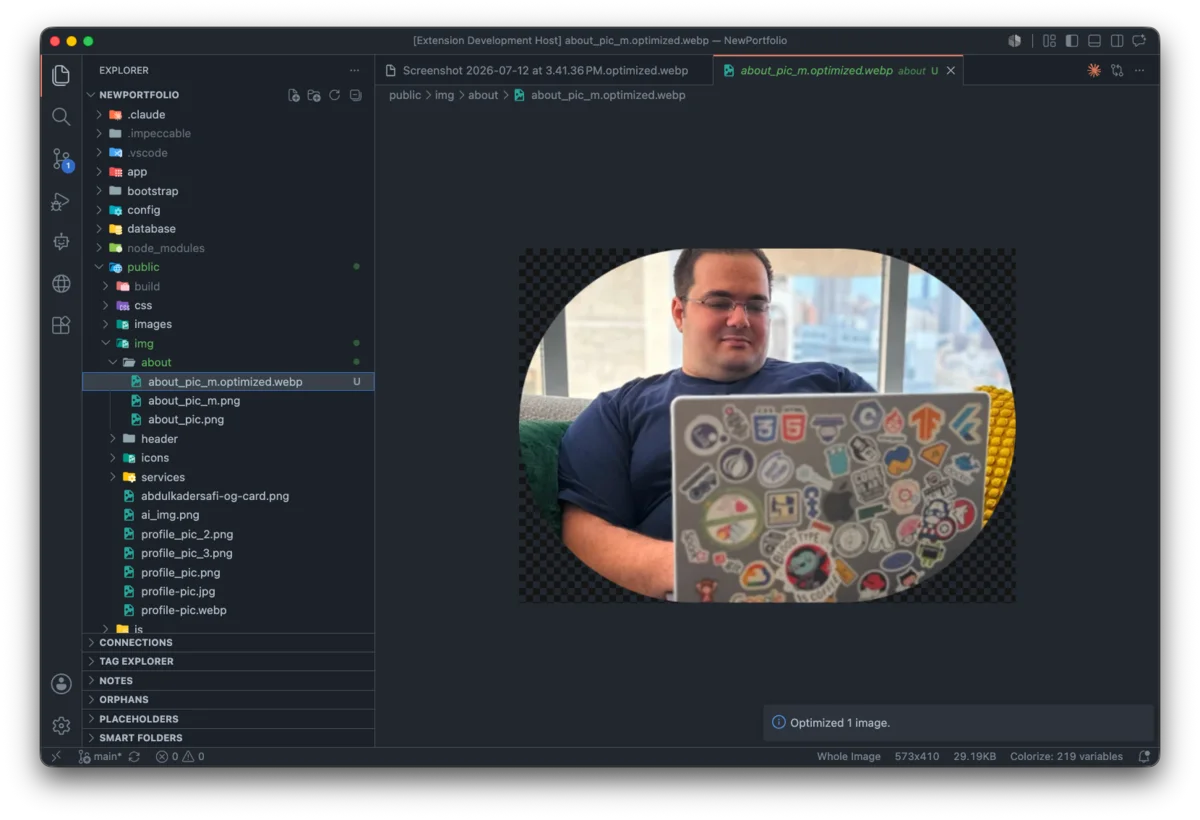
the Image changed format from png to webp and redused the size from 327.11KB to 29.19KB
No panel opens. No tab. No dialog. You get a progress notification and a count when it finishes.
The part that made it possible
The interesting constraint: the extension host is a Node process, and crashing it takes VS Code with it. An earlier version of this extension did exactly that, with a native addon faulting the host at 0xC0000005. That is why the image engine lives in the webview, sandboxed, where a crash costs you a panel and nothing more.
A headless one-click optimize has no webview to hide behind. The obvious workaround was an invisible one, spun up per run, which is slow and ugly.
It turned out to be unnecessary. @imagemagick/magick-wasm is pure WebAssembly, not a native addon. It has no C++ boundary to fault across, so it runs in the extension host safely, on the exact same magick.wasm binary the webview already loads. The one-click path encodes in-process, no window, no round trip. The thing I assumed was the hard part was already solved by a decision made for an unrelated reason two versions ago.
Next
- Strip metadata as a standalone action
- Before and after size with percent saved
- Compare slider in the preview
- Responsive size set from one source
- Apply a preset from inside the panel, not just from the Explorer
- Watermark and text overlay
- Auto-optimize on save
More soon.
Last updated 17 Aug 2026 · filed under Typescript, vs code, extension, tools, svelte